 In my last blog I wrote about the Package Conversion Manager in general, in this blog I will write about the conversion process of the classic packages. Let’s see how this nice extension of Configuration Manager 2012 works and rocks!
Like mentioned earlier, after analyzing your packages there are several scenarios for converting the classic packages to the new Application Model. I will describe 3 different conversions scenarios of classic packages to the new Application Model.
Scenario 1: Converting a classic package automatically
Packages with the readiness state Automatic, can easily be converted by following the next steps;
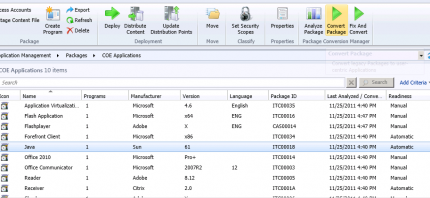
1. Select the classic package with the Automatic readiness state and click on Convert Package
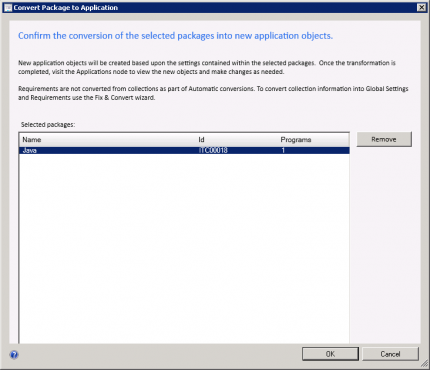
2. Click on OK to start the conversion process
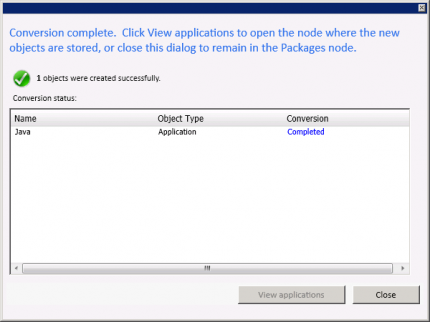
3. Monitor the process, the process will take a few minutes.
4. When the conversion process is completed, click on close.
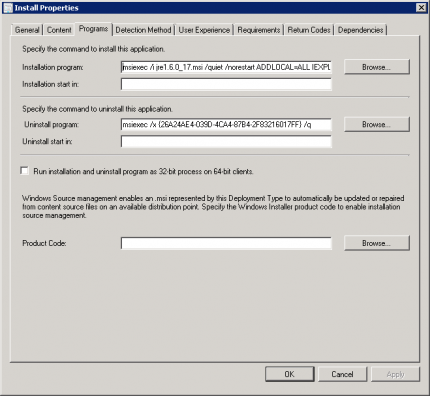
5. Next browse to the Applications node and select the application that has been converted. Browse to the programs tab and retrieve the properties of the program. Browse to the Programs Tab and see that the Package Conversion Manager also added the uninstall string for the program.
Scenario 2: Converting a classic package manually
When you need to convert a classic package manually, you first need to fix the program of the classic package before you are able to convert the classic package. Reasons of a manual conversion can be found in this blog.
1. Select the classic package with the Manual readiness state and click on Fix and Convert Package
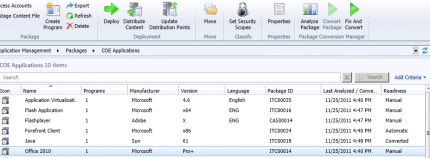
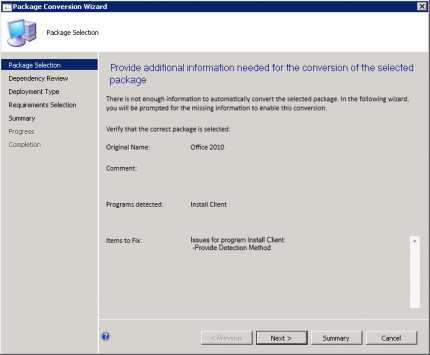
2. The Package Conversion Wizard will start and you see the Items to fix in the screen, for this conversion we will need to provide a detection method before we are able to convert the classic package. Click on next
3. Check if there are unconverted dependencies and click on next.
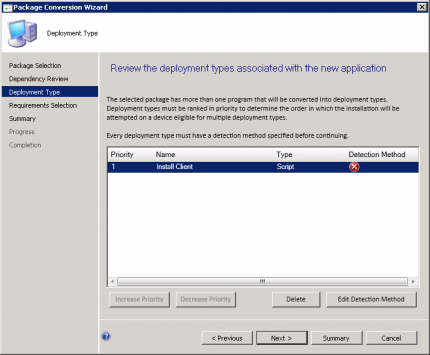
4. Next we see that a detection method for the Deployment Type Install Client is missing, click on Edit Detection Method.
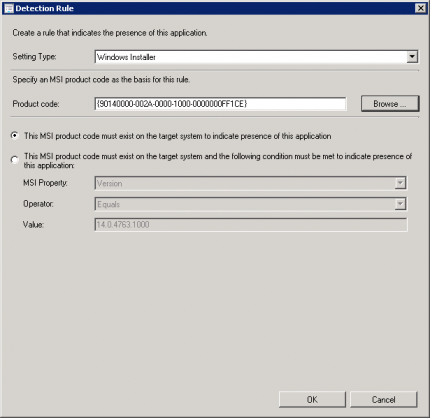
5. Click on Add to for this application a Windows Installer Product Code (via the MSI), click on OK twice to proceed.
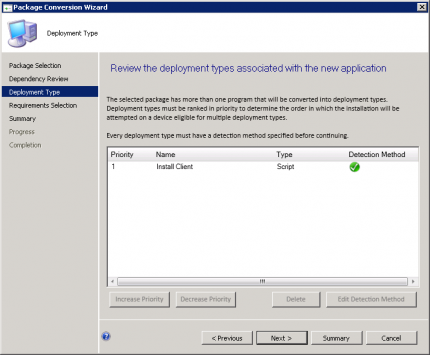
6. Click on Next to select optional requirements detected in the collections associated with the original package and click on Next twice to start the conversion process.
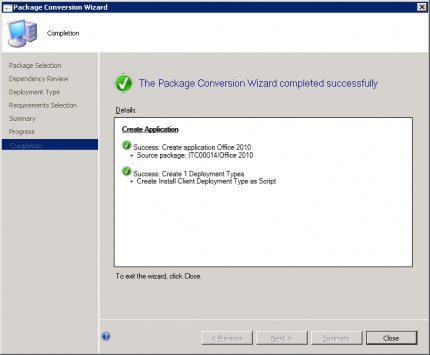
7. Click on close to check and test the application before deploying it in your environment.
Scenario 3: Converting a classic package with application depended automatically/manually
The third scenario is converting a classic package that is depended of another classic package. In this scenario we want to convert the classic package Flash Application which is depended of the application Flash Player.

1. First we need to convert the Flash Player classic package before we are able to convert the Flash Application. Select the Flash Player and click on Fix and Convert in the home ribbon of the Configuration Manager Console. Check the items to fix and click on next in the Package selection screen in the Package Conversion wizard. Follow the same steps as mentioned earlier in this blog.
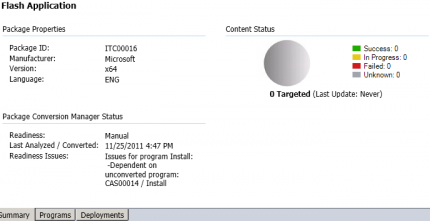
2. After converting the Flash Player, select the Flash Application and click on Analyze Package. The package will be reanalyzed and the readiness state will change. See the figures 😉


3. The readiness state is changed to automatic after reanalyzing the classic package. Click on Convert Package to convert the package automatically.

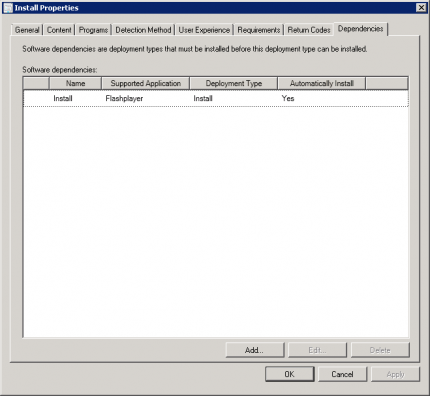
4. When browsing to the new applications you can check if the dependency is also converted to the new application model. You can do this by accessing the properties of the new deployment type and browse to the dependencies tab.
Converting a classic package is overall a fairly easy and valuable step to take, if you ask me a must have for every migration from Configuration Manager 2007 to Configuration Manager 2012. In next blog I will show you the Package Conversion Manager in action, in other words sit back, relax and enjoy the movie. 😉


